


The Tale of a Meal by ShotbyMuktarah
Happy World Photography Day!

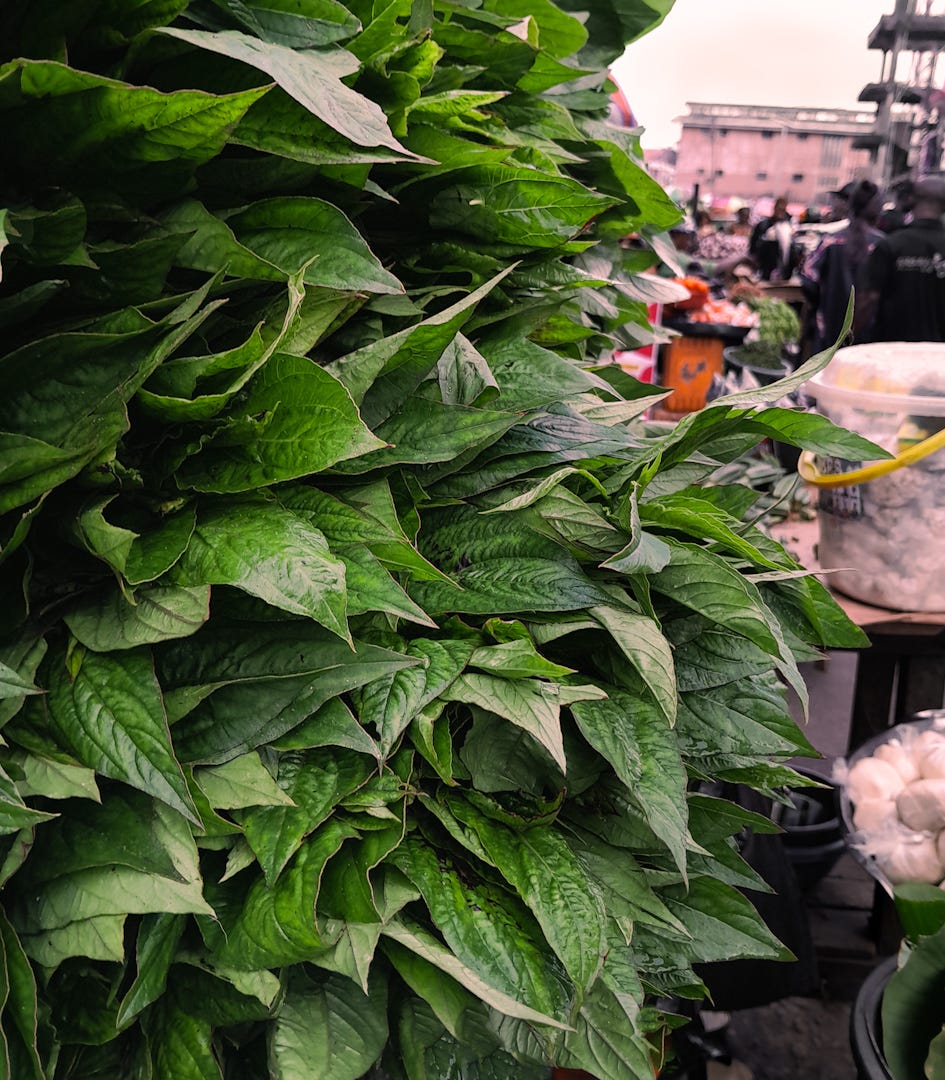
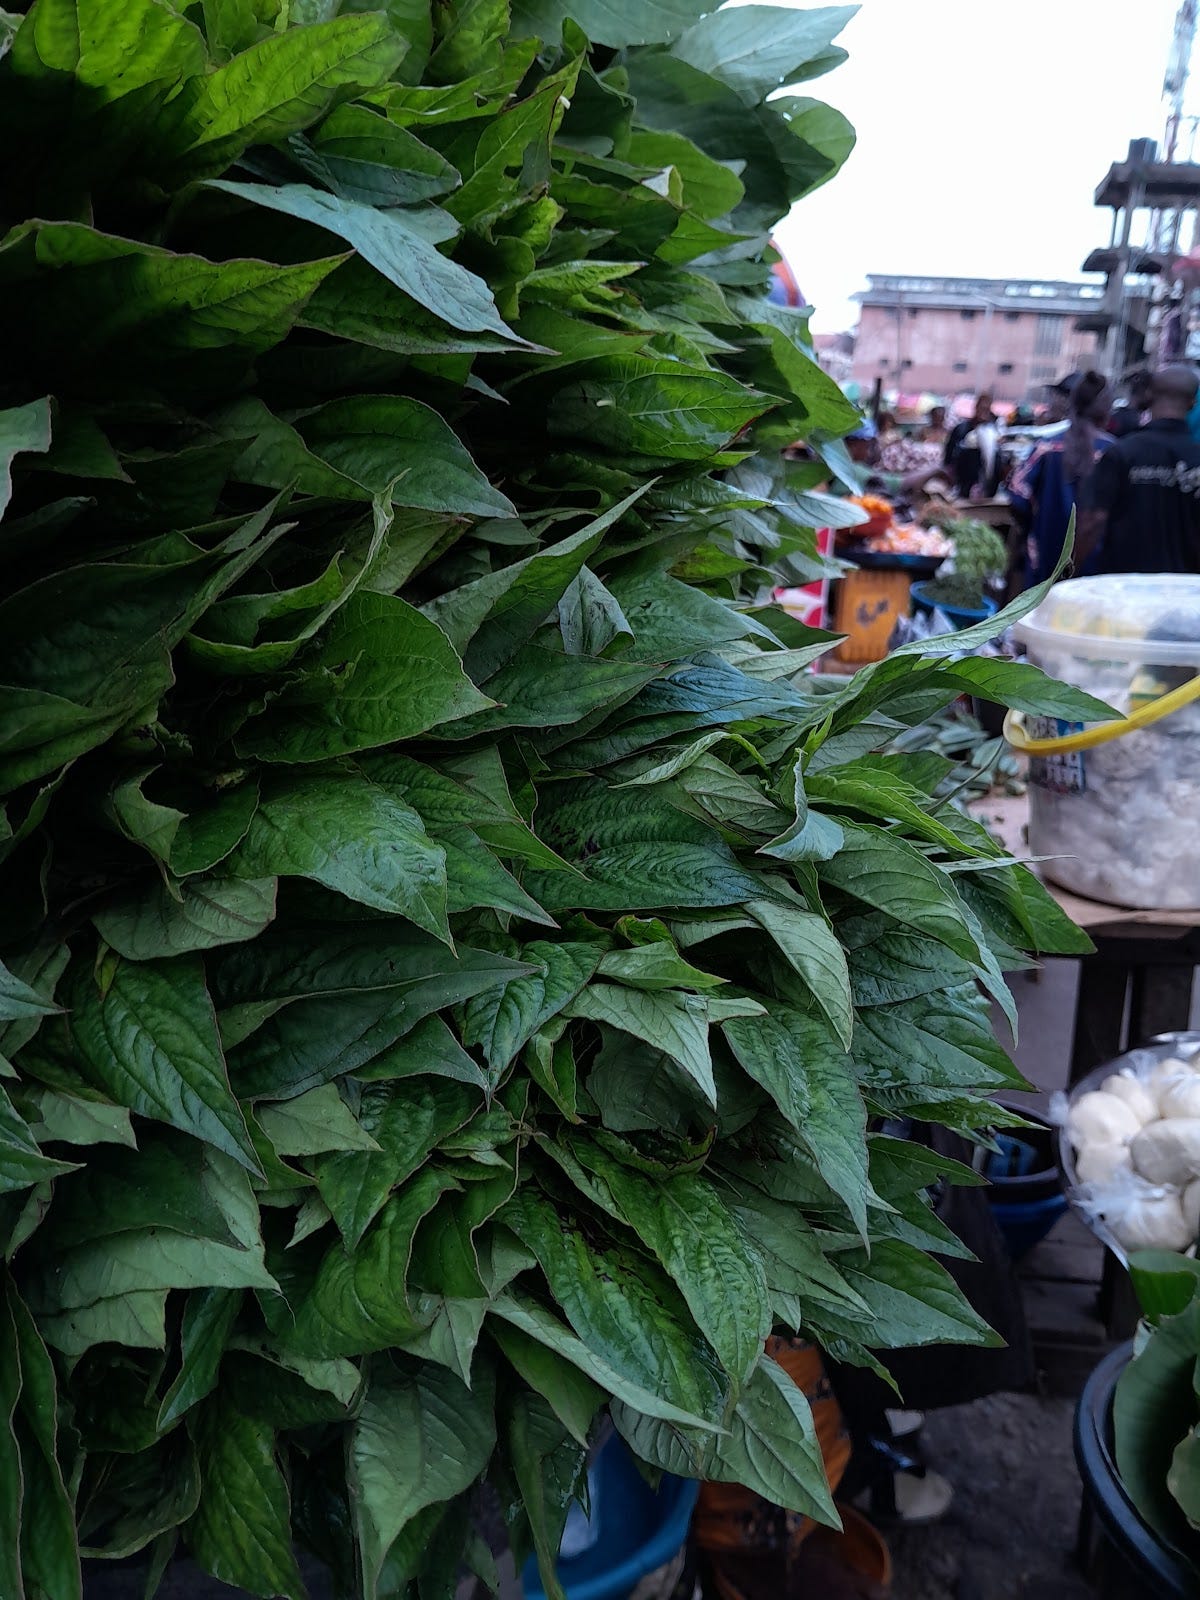
My vision for this image was to tell the story of where all meals begin—the market, with a focus on vegetables.
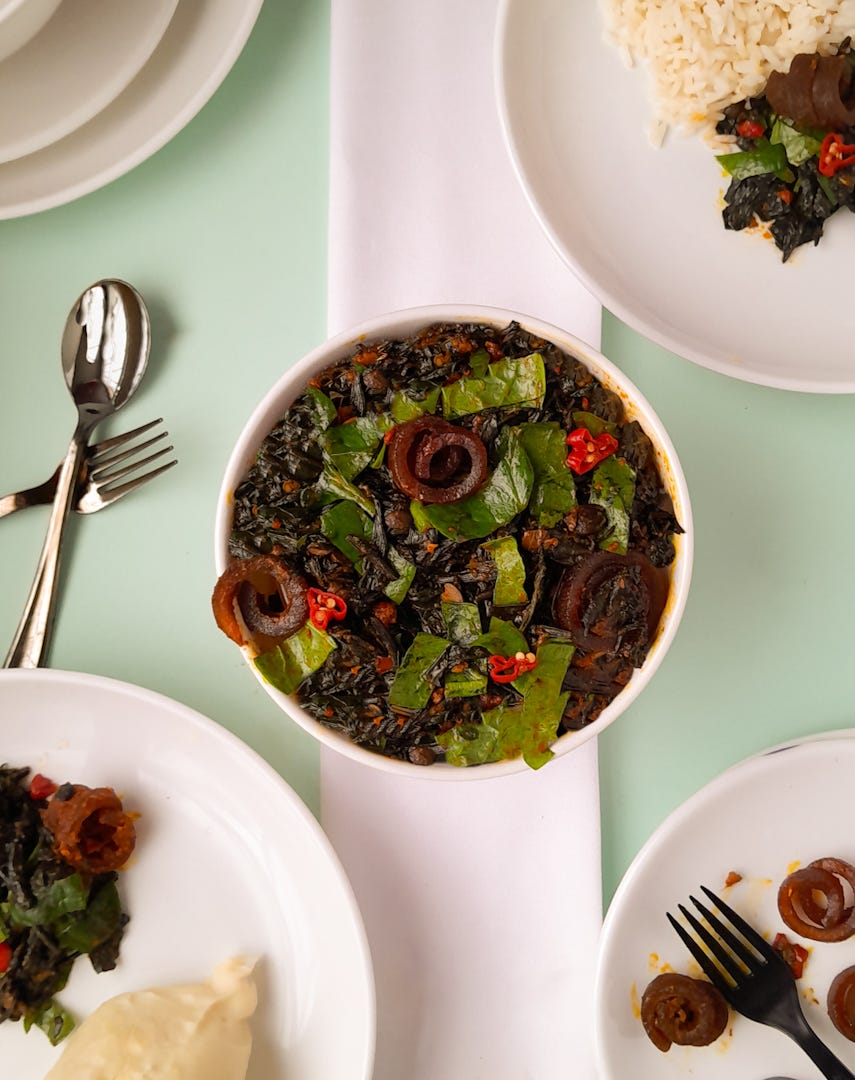
To achieve this, I opted for a frame-filling shot of a vegetable stand with the market set as the background, and with this; I narrate the tale of vegetable soup.
Images are made before the shutter closes, but they can be perfected when the shutter act is completed.
My editing process begins with curating the images I have taken and making selections based on the focus, composition and how well it speaks to my vision. This process leaves me with fewer images than I started with. Then I start modifying the shortlisted images which happens in two major steps which are; general edits and localised edits.
GENERAL EDITS
1. Cropping
This is done based on my intended use of the image, which can range from header images to Instagram photos. For this image, I chose the 4×5 which is perfect for an Instagram image.
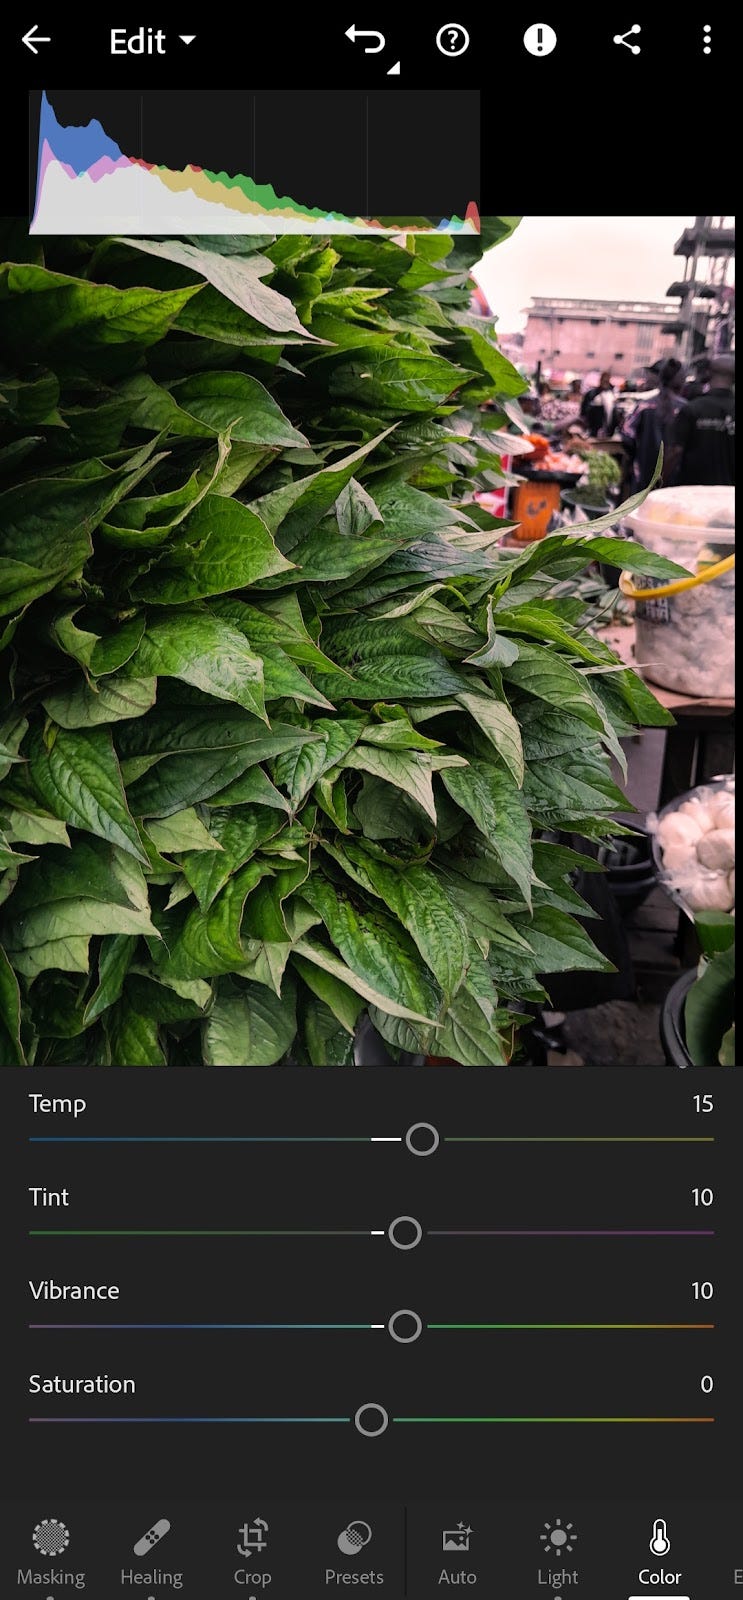
2. Colour
Before light? Weird, I know.
I modify the colour temperature of images to better reflect my vision. I do this before tweaking the lights because I have found that this has a significant effect on how light plays in images. For this image, I wanted it warmer than it was, to better portray the true nature of markets in Lagos. I also wanted to remove the unwanted colour cast which was in this case, green. To correct these, I used the temperature and tint options. The result was an image with colours truer to my vision.
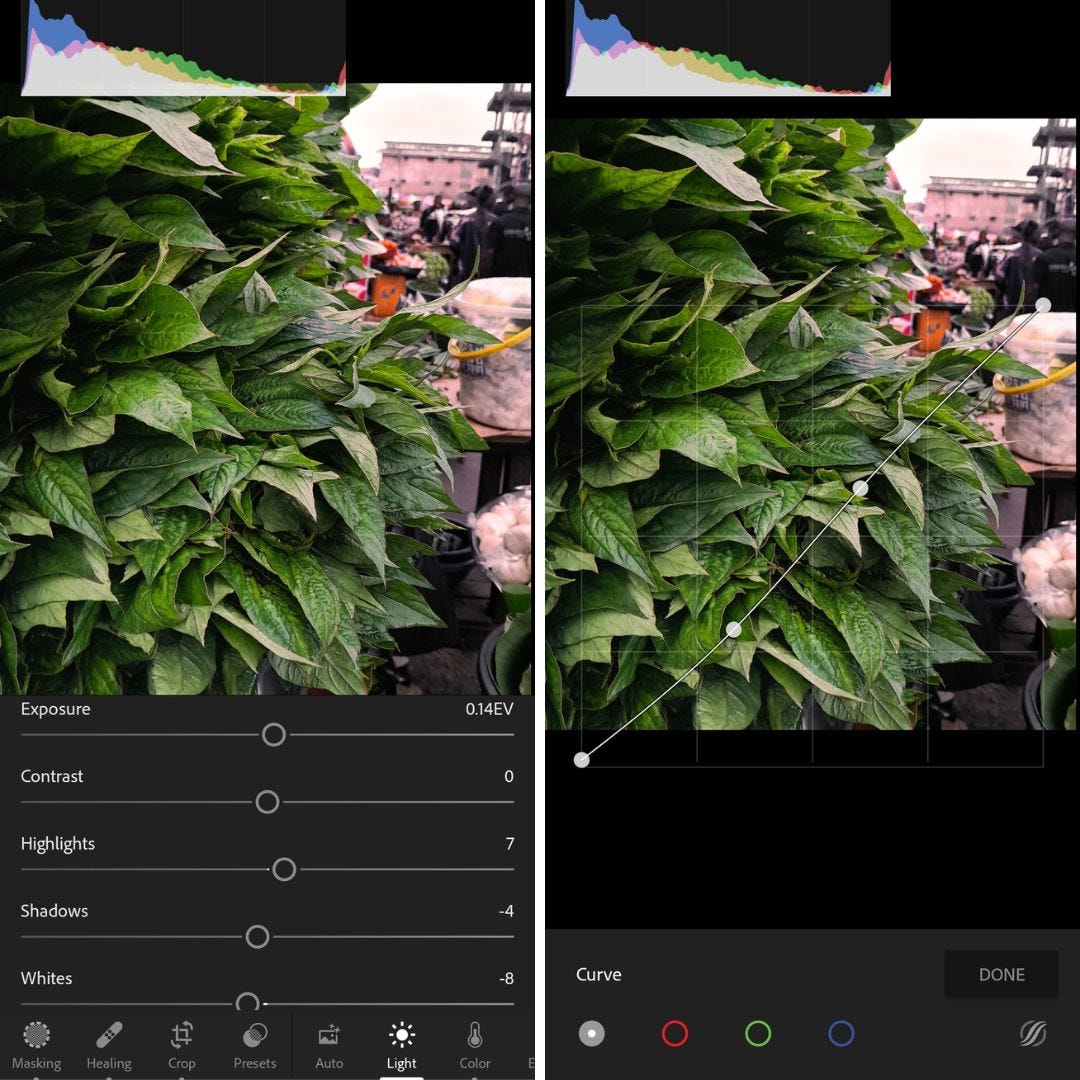
3. Light!
Here, we make changes to the bright and dark parts of our image. By utilising exposure, highlights, shadows, whites and curves, I was able to improve the contrast of my image. Contrast is important in adding dimensions to your image and preventing it from looking flat.
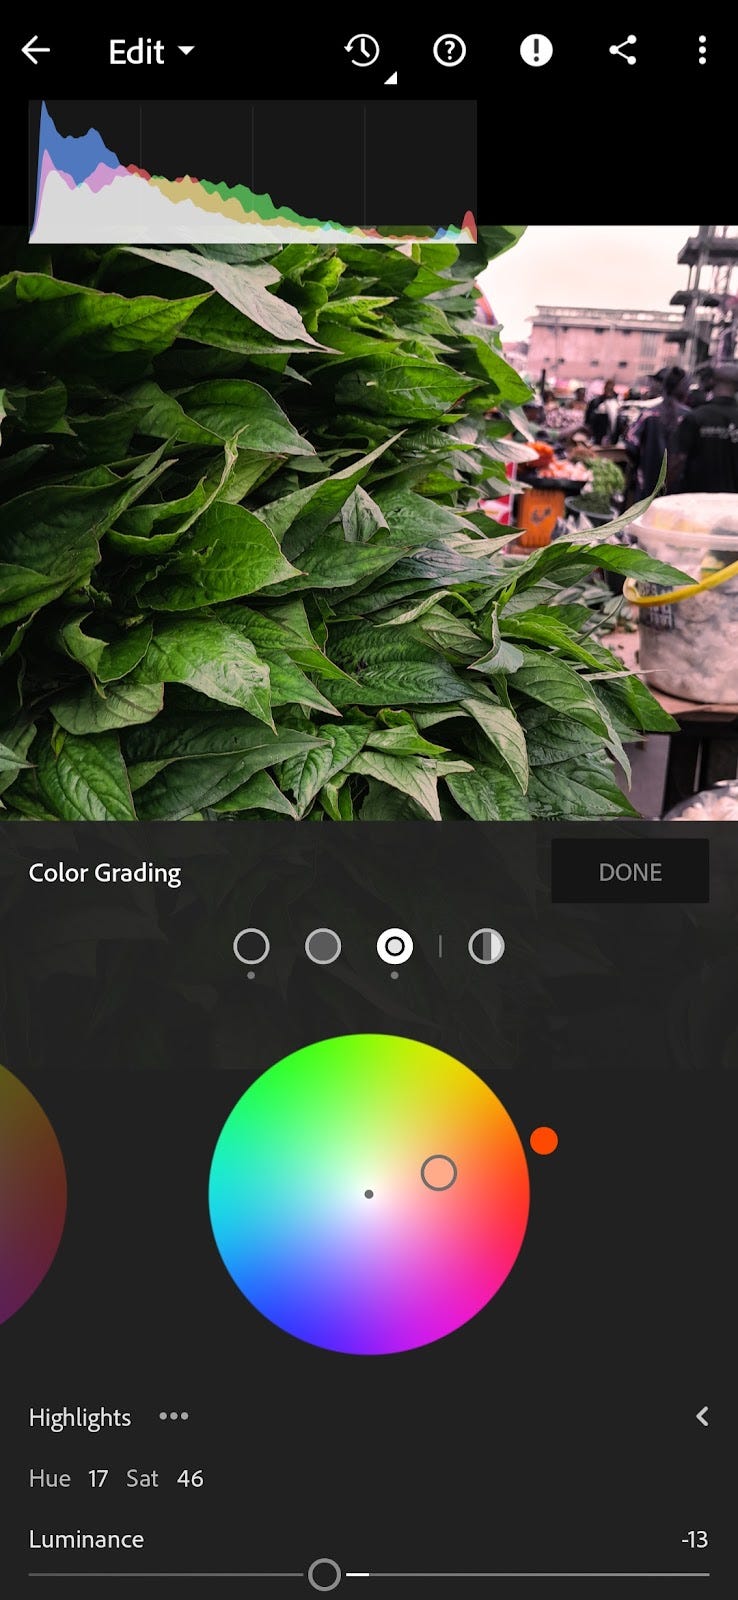
4. Colour, again.
Now, it is time for us to play with the colours present in our image. I had a few goals for this, which were to bring the green of the leaves to the truer colours, eliminate colour distractions and achieve a semblance of colour harmony in my image overall.
To achieve these goals, I started by tuning the green colour through the colour mix.
Then I followed it up by desaturating certain colours present in the background, which took away from the main focus. I ended with colour grading the highlights and adding a reddish-orange tint to the image. By doing this, I introduced a colour palette into my image and improved the colour harmony in it.
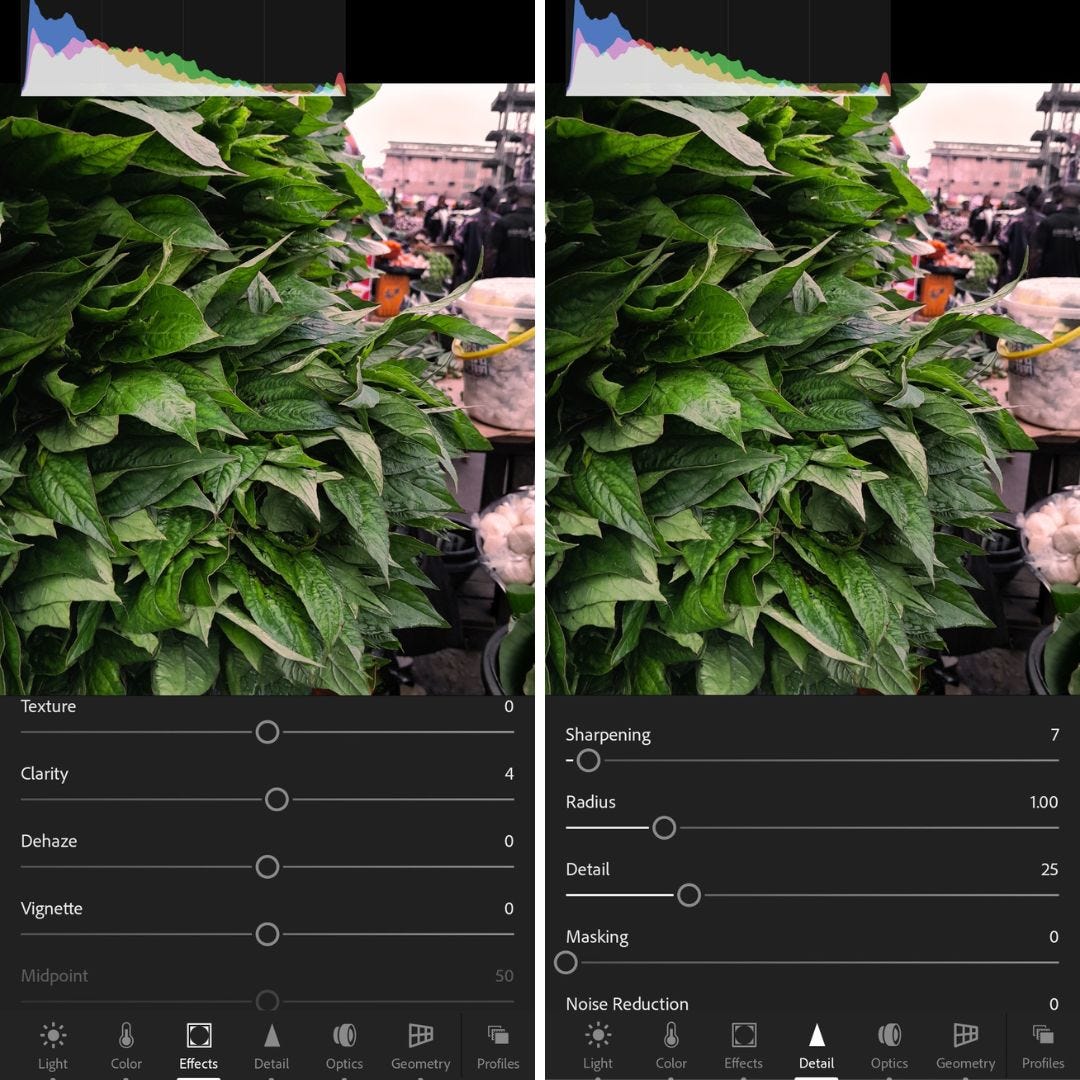
5. Effects and Detail
With these tools, you have a chance to improve the quality of your image. Here, I increased the sharpness and clarity of my image. A little here goes a long way.
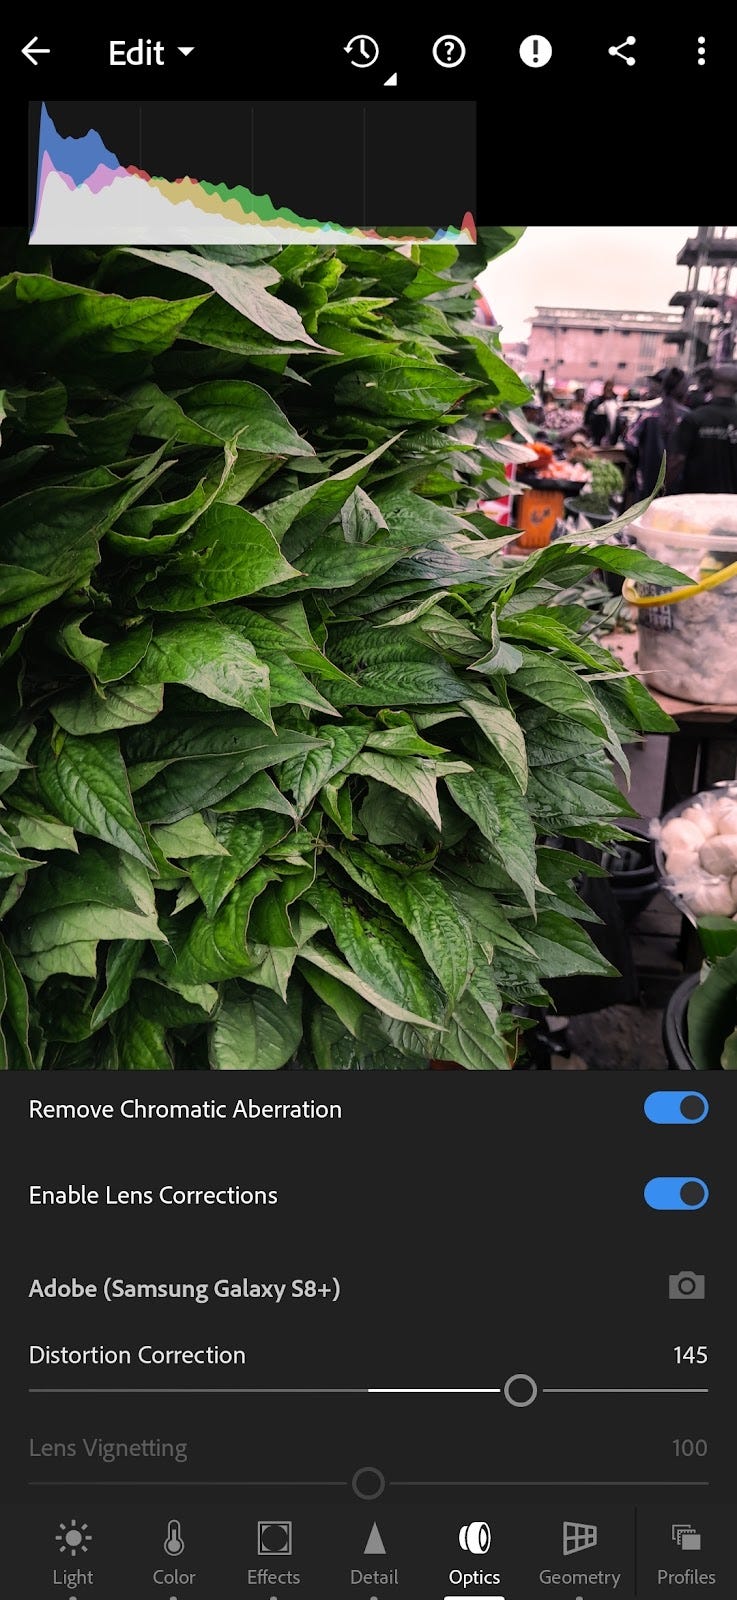
6. Lens Correction
I find that this helps bring the image 'forward' by correcting distortion which occurs due to your camera lens. This issue is pretty easy to use, all you need to do is select the manufacturer and model of your device, then tweak the correction settings to your taste.
LOCALIZED EDITS
This has to be my favourite part of editing. Here, we have a chance to add subtle changes which help to enhance the image either by removing blemishes, adding elements, making the hero stand out or creating an equal spread of light across your image. My process here is as follows;

● Hero Highlight:
My subject is the vegetable stand, as mentioned earlier, with the market scene acting as a backdrop. To better emphasize this, I used the masking tool to apply localised edits first on the Subject and then on the background. For my subject, I played around with Texture, Highlights and Shadows tools slightly increasing these parameters and for my background, I went in with the dehaze, clarity, exposure, highlights and shadow tools, decreasing them. This served to better distinguish these aspects of my image and bring me closer to my vision.
● Lighting Balance:
For most images, the area opposite the direction of light is usually noticeably darker. This occurs because the intensity of light reduces the farther it travels from its source. To rectify this, we utilise the Masking Tool to apply a Linear Gradient on our subject. After which the exposure on the darker side can be tweaked to your taste, producing a better-lit image.
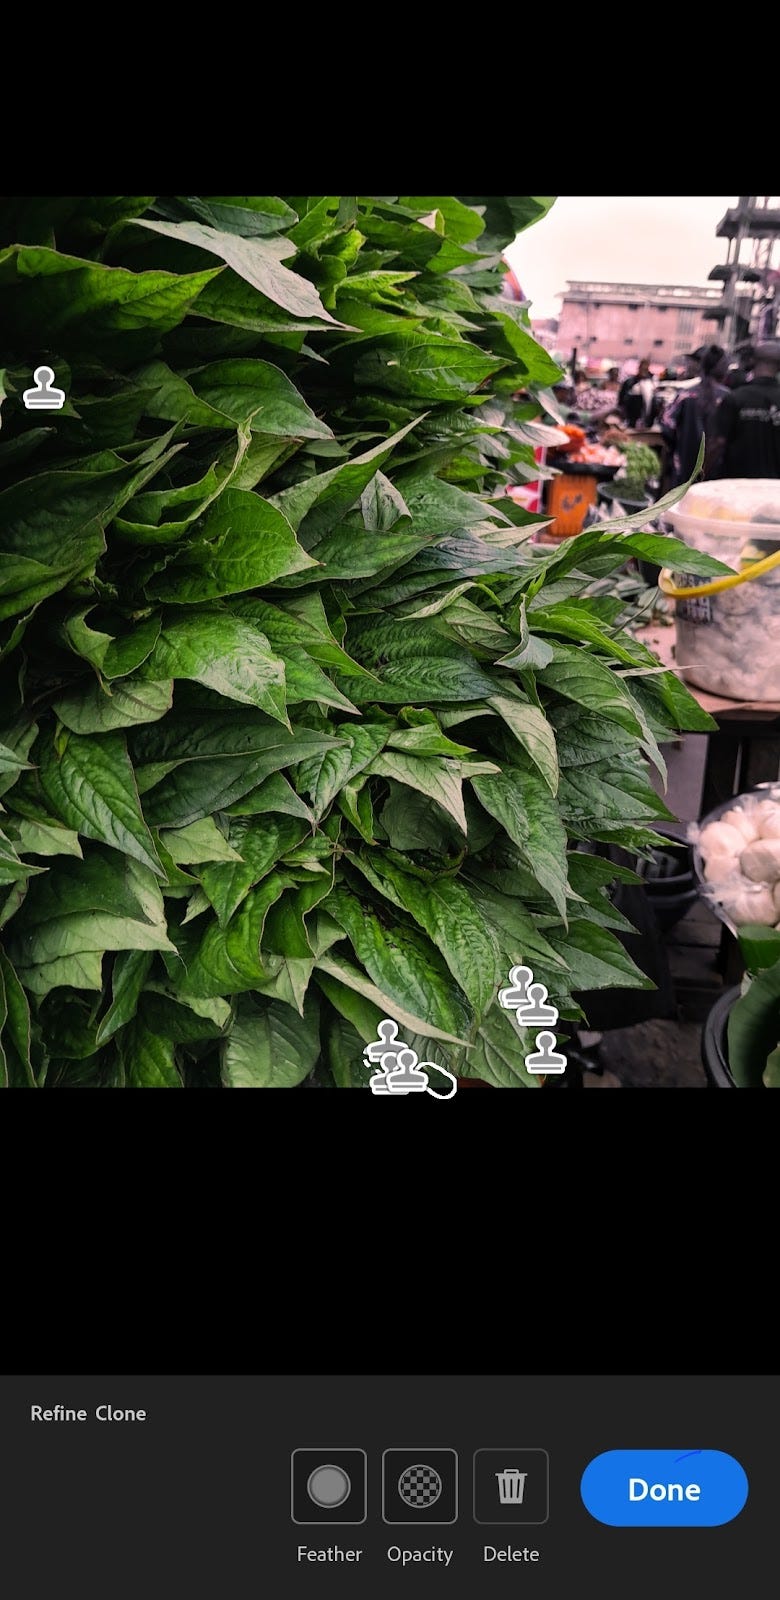
● Removing/Adding Elements:
To round up my editing process, I wanted to bolster the fullness of the vegetable leaves. To do this, I utilised the clone tool to fill in gaps present between the leaves; eliminating distractions while making our subject look more like the hero.
I end my editing process with a break, to give my eyes time to renew how colours are processed. After which, I check my image again and make tweaks if necessary.
Thank you for reading and I hope you have been able to perfect your editing process by taking a look at mine.
Ps: Try out this editing process on any image of "nature" you have in your gallery. Adjust a few things and tweak the image until you're satisfied with it. Then repeat again with another image and then another until you get the hang of editing and can do it on your own.
If you've found this newsletter helpful, you might want to check out some other newsletters here.
The Basics Of Photography

It's 2023! And the month of January is finally coming to an end. It's been a hectic month year for most of us, and if you haven't taken any photograph this year, the best time to do it is now. Look around you and find a subject to capture. It could be a pen, a chicken, a car, anything at all.
And follow us on our social media platforms:
It’s World Photography Day!
This year, we have one question for you:
What does photography mean to you?
