


Much Ado About Lighting
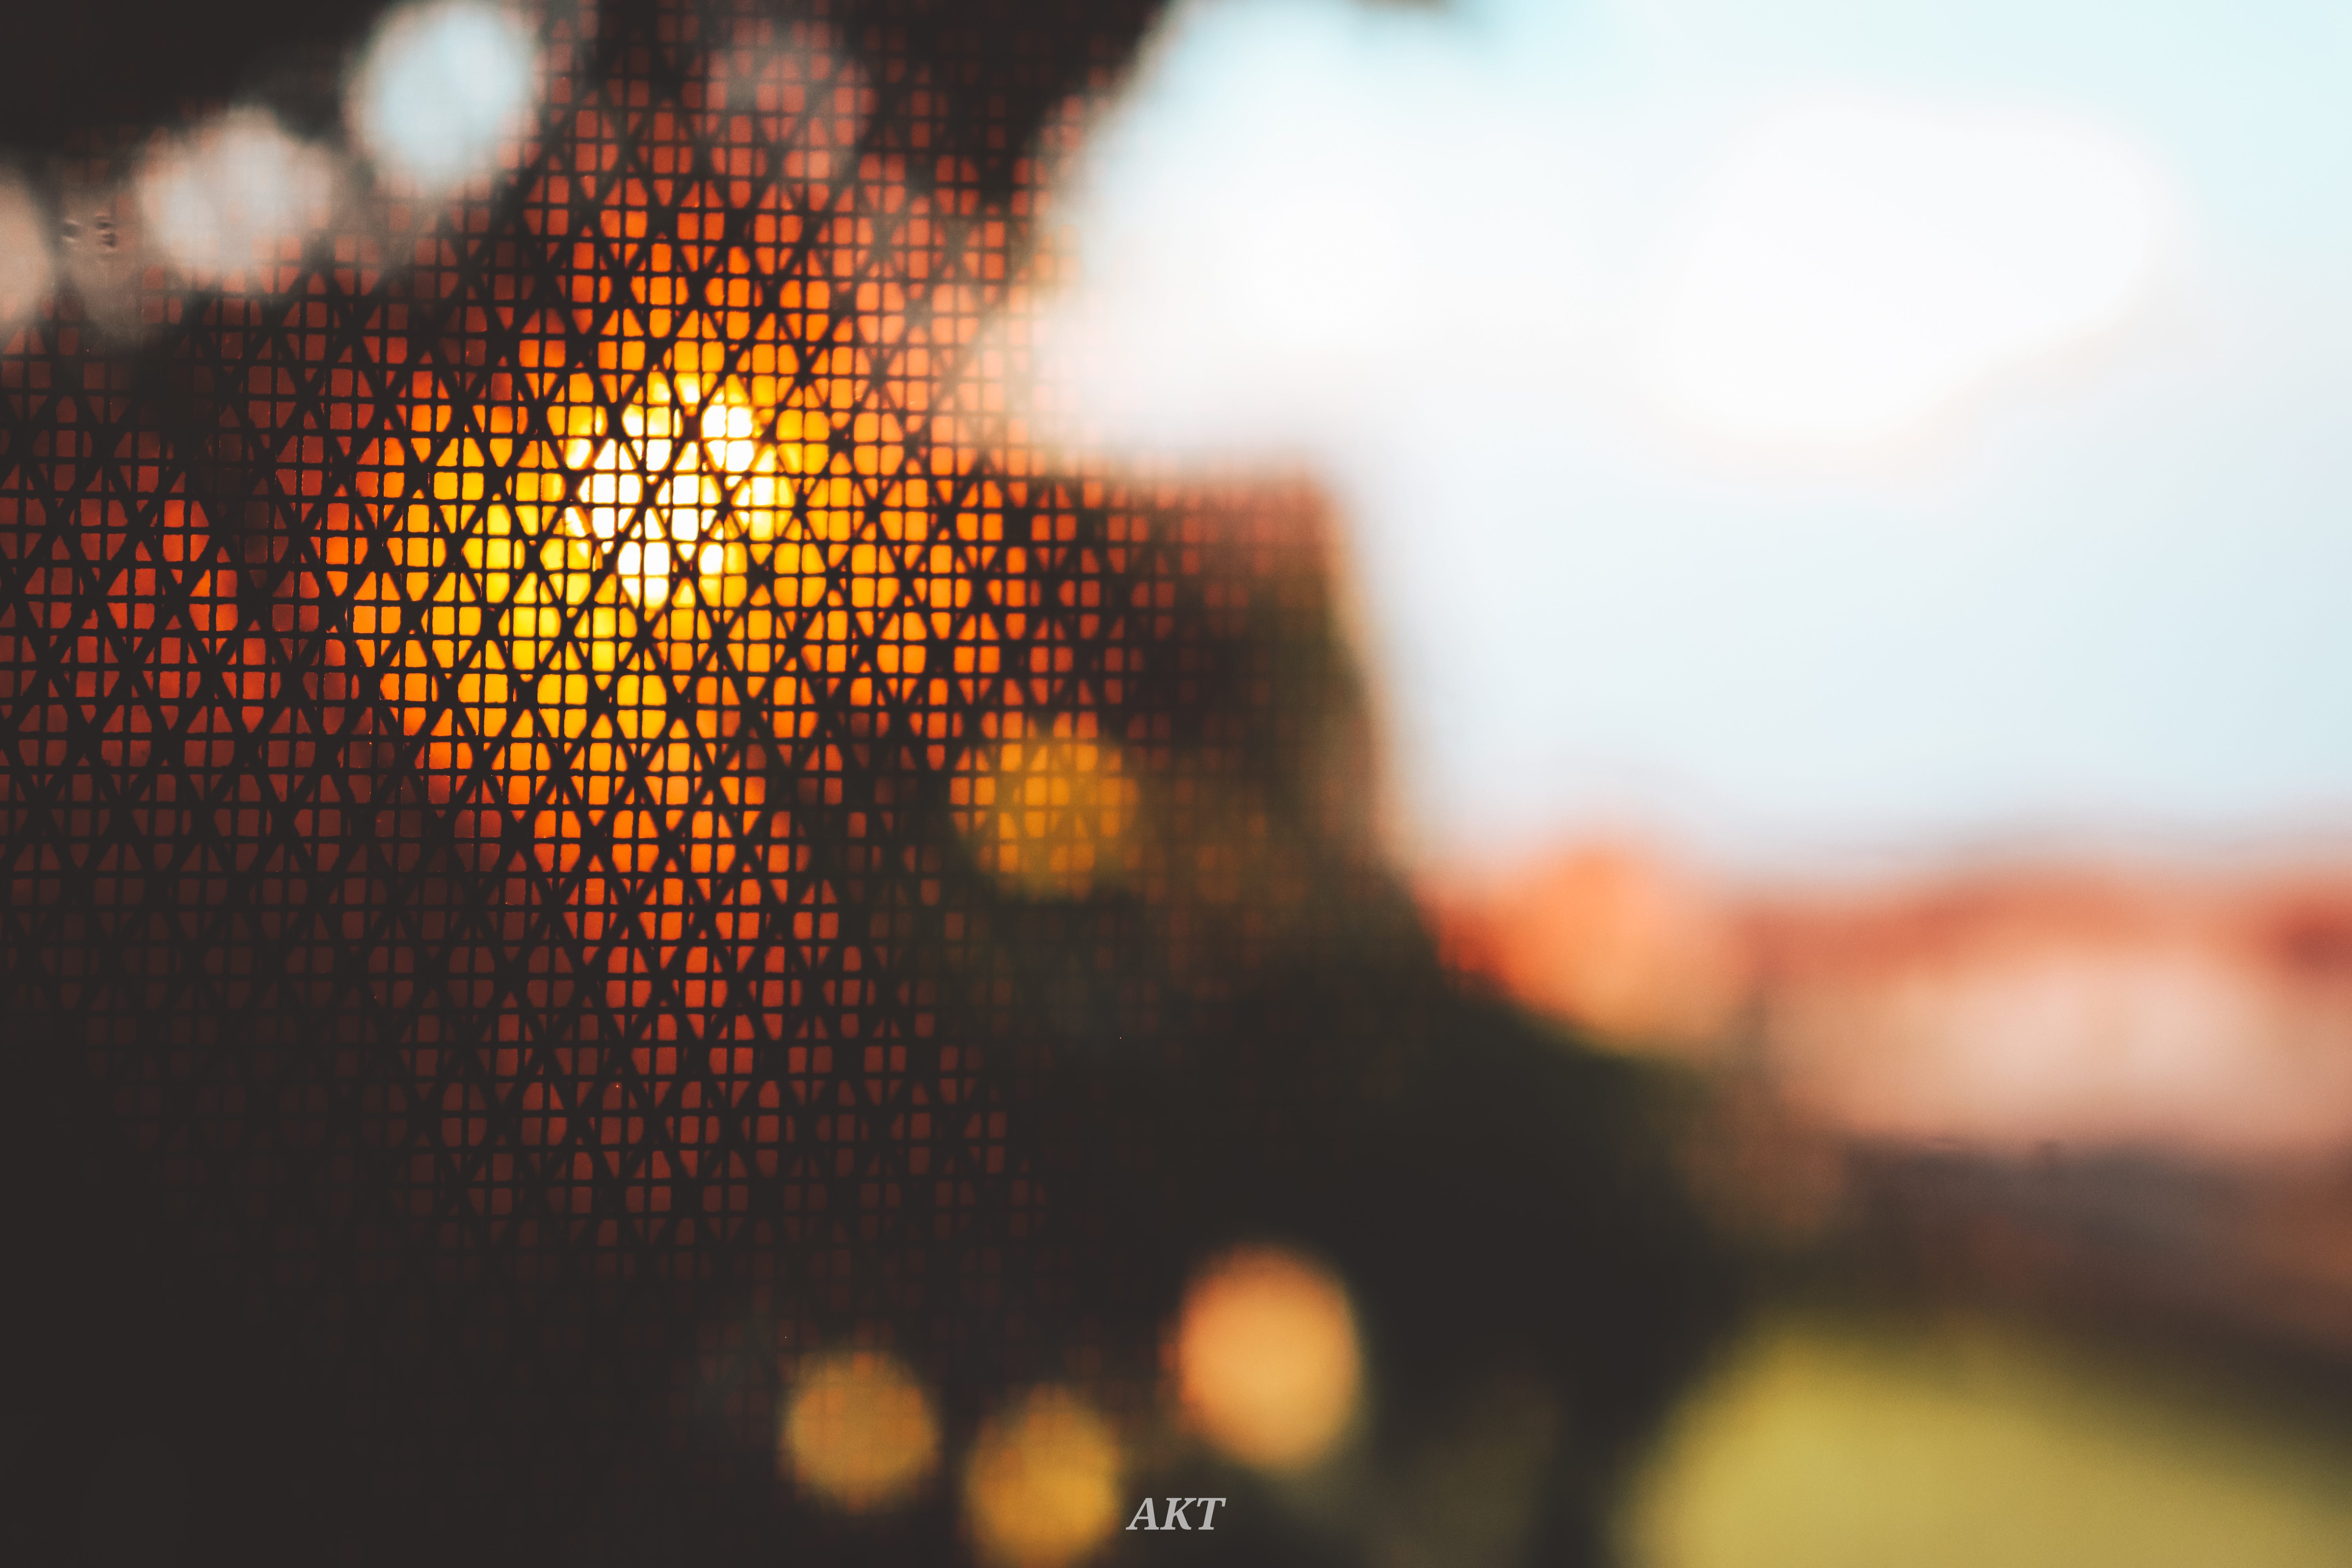
'Light makes photography'

This month, we'll be looking at the one aspect of photography that can either make or break your image: 'Lighting'.
But first, what is light?
Light is what enables us to see, create, and most importantly convey meaning through our art. Light is illumination. It exposes and reveals and without light, there'd only be darkness and you'd agree that total darkness is not an element of photography.
For every illumination/light, there must be a source. A light source is anything that makes light, whether natural or artificial.
Now then, what is Lighting?
Lighting, in photography, refers to how the light source is positioned in relation to the subject.
Types of light sources
There are 2 major categories of light sources; natural and artificial.
Natural light sources
The only natural light source is the sun. You could argue for the moon but for now, let's just agree on the sun.
Artificial light sources
These are man-made light sources such as LED lights, florescent lights, incandescent lights which requires the heating of a wire filament till it glows, flashlights, strobe lights, and so on.
Types of Lighting
Natural vs artificial
Natural light is light gotten from the sun. It cannot be moved or controlled so using natural light requires planning and careful arrangement of the subject. To use natural light, you have to consider the position of the sun (this affects the angle of the light source) and the time of the day. For softer lighting, take your pictures around sunrise and sunset and for harsher or brighter lighting, take them around mid-day when the sun is at its zenith and its rays are brightest.
Artificial light, from artificial light sources, offers more flexibility as the positions of the light sources can be changed and their intensity can be controlled.
Hard vs Soft
Hard lighting is obtained when the light source is pointing directly at the subject. It creates sharp shadows and high contrast and is used for creating dark/dramatic moods.
Soft lighting is obtained when the light coming from the source is diffused (scattered and thus, distributed evenly) before hitting the subject. It is used mostly for portraiture, macro, and nature photography. Diffusers are usually employed in acheiving this kind of lighting but for the sun, which is a natural light source, the clouds help in diffusing its intensity.
Front vs Back
Front lighting focuses the light source directly in front of the subject. This reduces the amount of shadows in an image.
Back lighting is the opposite, where the light source is behind the subject. It is useful for creating silhouettes.
Split lighting: This is when light hits the subject at a 90-degree angle to the light source. This results in a straight line down the center of your subject with one side lit and the other dark. This form of hard light is typically used for dramatic portraits.
Things to consider when choosing lighting types
What look or mood do you want your image to have? This determines the type of light source and lighting to be used.
What are you photographing? Some subjects look good under soft, natural light while others require harsher lighting. Portrait photography,for example, should not be done at mid-day because the lighting is harsher and will produce unflattering shadows on the faces of the subjects.
Do you want shadows? If yes, what type of shadows do you want? Harsh shadows have a very fast transition like a hard-edged line and create more contrast whereas soft shadows have a slow transition, one that's much more gradual.
As a beginner, you might be wondering "where should i start from?". We advice you to start with natural light. Take different shots of the same object at different times of the day and observe the final images to determine how the intensity and angle of the light affect the image. This will help you understand the role that lighting plays in photography.
Lighting is a complex element that requires time and practice to master.
It is, no doubt, one of the most challenging aspects of photography, but it is also one of its most rewarding parts.
If you're feeling overwhelmed, just take a shot. Start with natural light (the sun), set-up your product or subject and take an image.
Then study the image, the lighting in particular, and identify the flaws. Are the shadows too harsh? Use softer lighting, i.e around sunrise or sunset.
Are the shadows too soft? Retake the picture around midday for harder lighting. Are the details in the subject difficult to see? Use front lighting (ensure that the subject is facing the sun).
Monthly Theme
This month at Shutter Junkies, our theme was 'fruits'.
Can you identify the types of lighting used in the images? Tell us in the comments section below.


Do you feel stuck? Can't figure out what's wrong with your image(s)?
Want to join Shutter Junkies? A community of photographers who would love to critique your work and give advice on how to make the image better. Reach out to us on our social media and you’d get all the information you need.
✍️Sumayyah, A. and Sumayyah, F.